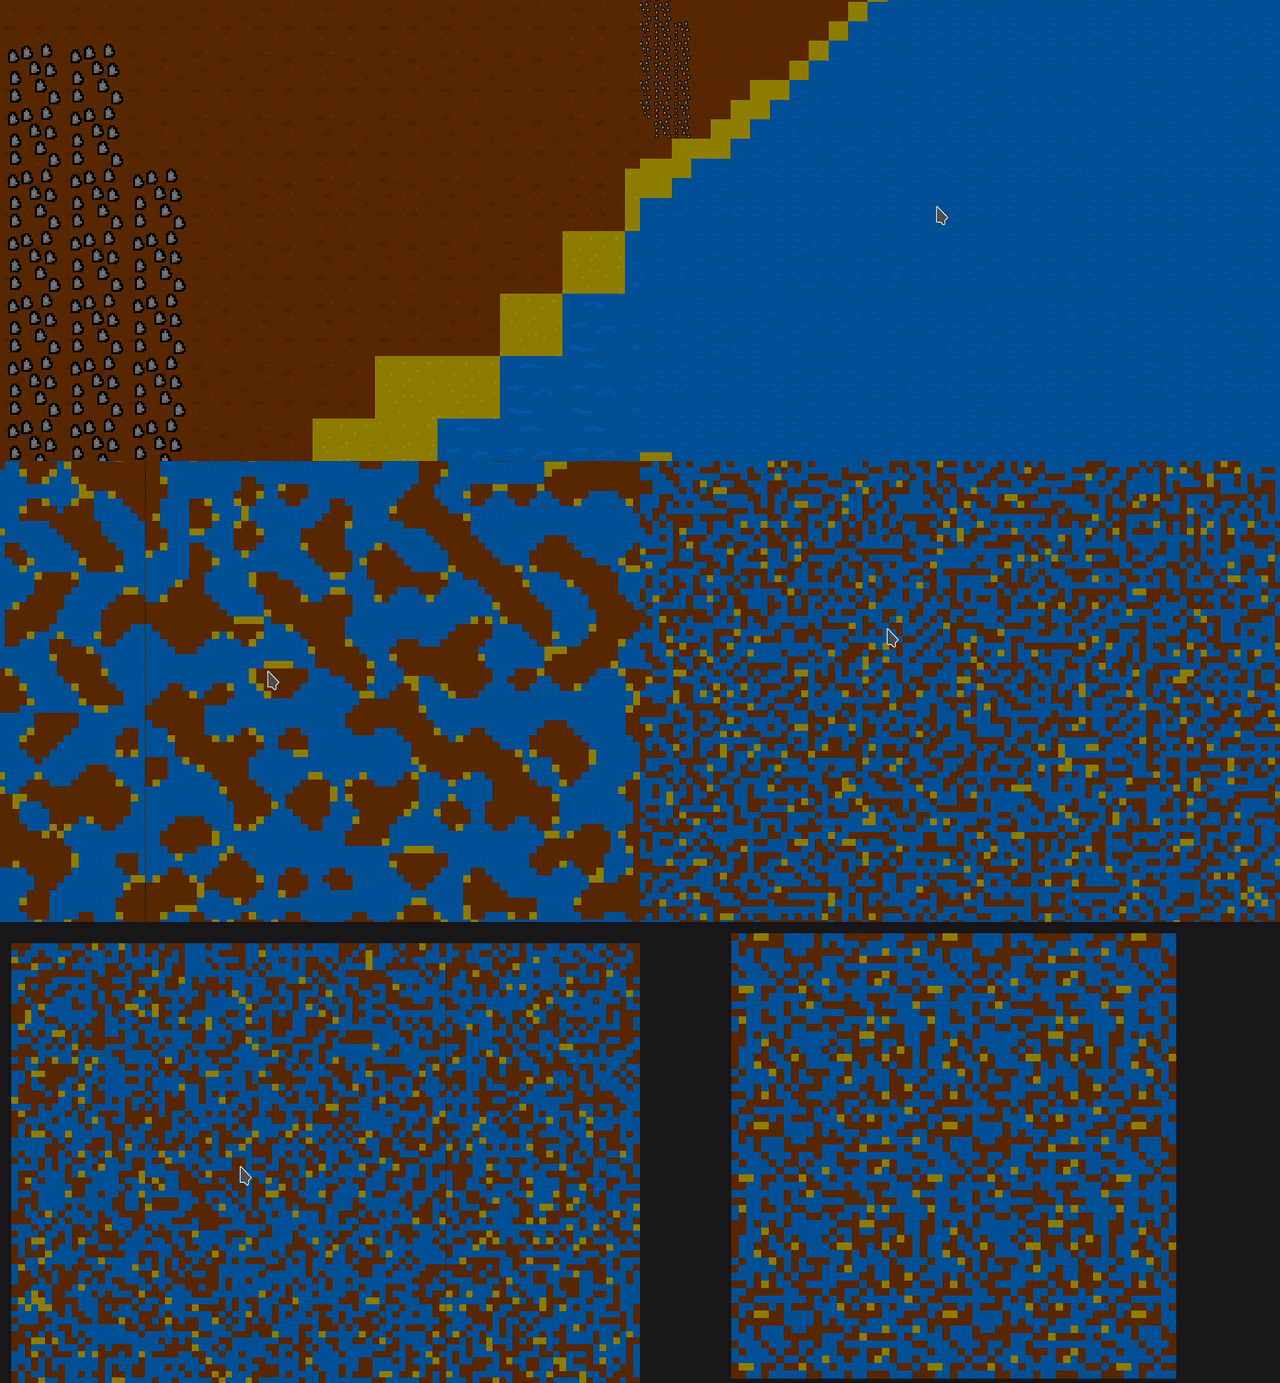
While the rendering generally worked, it was really slow when zooming far out on the Planet view:

I therefore invested some time into optimizing the rendering.
Avoid deep render node nesting
The render node type looks like this:
pub enum Node {
    Text(TextNode),
    Color(ColorNode),
    Tex(Texture),
    Branch(BranchNode),
}
While there’s multiple Node types, only the BranchNode could be used to set a transformation matrix:
pub struct BranchNode {
    pub transformation: Option<Matrix4>,
    pub children: Vec<Node>,
    ...
}
So if a transformation was required, the node had to be ‘wrapped’ withing a BranchNode, requiring allocations due to children being a Vec.
This made the design of Node very clean and simple, but wasn’t efficient at all.
To avoid this, every Node that might require a transformation now also has one. This reduces the Node nesting and count of required allocations, improving the render performance.
Reworked resource fields
The resources were rendered by rendering the fitting Material in e.g. a 10x10 grid on the tile, basically causing 100 render instructions / nodes.
I added dedicated images to my assets for the resource fields instead, dropping that number to 1 per field.
Node caching
Since my rework to the usage of render Nodes instead of rendering directly, on every frame the tree of Nodes was rebuilt.
In case of the Planet this is very expensive due to the large number of Nodes.
I changed the signature of the Planet‘s node function from:
pub fn render_node(&self) -> Nodeto
pub fn render_node(&self) -> Rc<Node>
with Rc being Rust’s reference counting smart pointer (similar to C++‘s shared_ptr).
This way it’s cheap to create copies of the returned Node since it’s now just a pointer.
I then stored one copy as member, returning that in case it’s still valid for the view.
To often be able to just return a copy instead of constructing a new Node tree, I am now drawing a larger area than what’s actually visible.
 +---------------+ <- generating nodes for this area
 |               |
 |    +----+     |
 |    |    | <---|--- what's actually visible
 |    +----+     |
 |               |
 +---------------+
This way as long as the visible area still fits into the previous ‘overdraw area’, the previous copy can be returned.
It’s only required to update offset and size values for the sub-view.
 +---------------+
 |               |
 |+----+         |
 ||    |         |
 |+----+         |
 |               |
 +---------------+
Texture atlas
I started using a single texture atlas for all the textures instead of having them separately managed and uploaded to the GPU.
This way I am able to use the same shader program and texture for all Nodes instead of causing context switches.
It’s only required to produce a single image/texture that contains all the seperate images and calculate and store the individual texture coordinates accordingly.
This also made it possible to define all of the visible Tiles in a new, single Tilemap Node. Greatly reducing the number of Nodes being constructed and rendered.
Dynamic visibility
Since it doesn’t make sense to for example render the resource fields when zoomed all the way out, I started hiding certain Nodes depending on zoom level.
Dynamic tile resolution
When zooming out, more and more tiles were generated, since the visible area grew larger and larger.
Since the screen resolution remains the same, this is very wasteful.
I therefore made the resolution / step with which Tiles are generated dynamic to produce approximately the same number of Tiles no matter the resolution.
Structure presence
Instead of rendering Structures at all zoom levels, I now highlight Tiles that contain a Structure.
This gives a better overview when zoomed out and is also very benefitial to the render performance.
Result
The comparison (note that the videos only have 10 FPS, the difference is bigger than visible here):
Before:

After:
